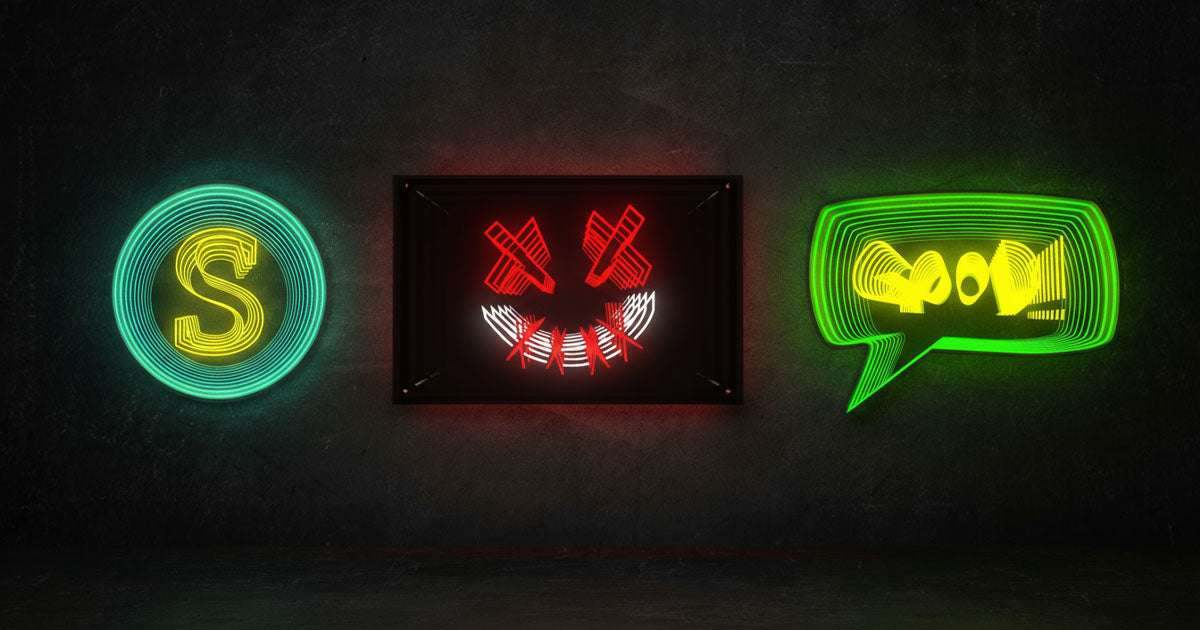
 LED neon signs have become extremely popular because of their bright colors and energy efficiency. These signs look like traditional neon lights but are more durable and use less energy.
However, like any other electronic device, LED neon signs can sometimes have problems that need fixing.
-
Why Maintenance Matters: For your LED neon signs to function at an ideal level for a long period, it's essential to inspect and service them regularly. Not doing these will cause them to fail to function effectively or even not work at all.
This article is a practical LED neon sign troubleshooting guide for beginners. It provides helpful tips for fixing common issues with LED neon signs.
This guide lets your LED neon signs look great and work perfectly for many years.
Common Issues with LED Neon Signs
 1. Flickering LED Neon Signs
Flickering is one of the most common problems with LED neon signs. This issue can stem from several factors, including:
-
Loose Connections: Insufficient power in the sign's connecting parts, including at the power source, can cause intermittent voltage and, in return, cause flicker in the lights.
-
Overloaded Circuits: Overloaded circuits can cause lights to flicker because too many things are running on the same circuit.
2. LED Neon Sign Not Turning On
LED neon lights do not work sometimes, which is one of their most common issues. Knowing the potential cause of this issue, sometimes it can be a power source issue or loose connections.
3. Dim or Uneven Lighting
Dim or uneven lighting is a common problem with LED neon signs and flickering. This issue can significantly impact both looks and sign visibility.
Knowing this common issue is important in troubleshooting LED neon signs effectively. Thus, diagnosing and fixing flicker LED sign issues will become easier.
Step-by-Step Troubleshooting Guide for LED Neon Signs
Step 1: Check the Power Supply and Connections
The first and most critical LED sign troubleshooting step is to ensure that your sign is receiving proper voltage and that its electrical connections are secure.
 1. Voltage Supply Check
First, verify that your LED sign voltage supply is compatible with its required voltage. The under-supplied voltage will cause your lights to flicker and function poorly.
2. Inspect Electrical Connections
Poor electrical connection will break circuits, and your sign will not function effectively. Look for frayed cords, and any sign of deterioration, such as rust, could be a problem.
3. Test the Outlet
Use a functional device to try out your sign outlet if its role in your issue is not its contents but its outlet plug and socket.
The three actions will allow a quick diagnosis of an LED sign voltage supply issue at your level. Early powering and connecting faults can save your sign from many future damaging malfunctions.
If everything seems to work at this stage, but your issue persists, proceed to check for apparent faults in your sign circuits and parts.
Step 2: Inspect Wiring and Components for Damage
Checking the wires and parts of an LED sign is an important part of diagnosing LED neon signs and an important consideration in your maintenance routine. It helps you pinpoint defects that cause your neon sign to malfunction.
Use the following steps in effectively inspecting your LED neon sign:
- Check for Visible Damage: Look for fraying, breakage, and deterioration in parts and wires. Tear wires can cause faults in voltage delivery in LED neon signs, and lights flicker and don't glow at all.
- Look for Loose Wires: Check all wires and make sure they are tightened. Wires with loose connections can produce intermittent power supply, and lights flicker at times.
- Examine Connections Between the Sign and Power Source: Check where your sign is plugged in and obtains its voltage. Rust and poorly installed terminals break current flow in circuits.
- Assess Cabling Problems: Check for kinked, frayed, or weakened cables between a sign and a transformer source.
Knowing these factors is important when troubleshooting your LED neon signs. Identifying early faults can be helpful, and you can fix them before they become big problems.
Step 3: Examine the Transformer
The transformer is a key part of your LED neon sign's function. It transforms high voltage to low voltage for powering lights. A malfunction in your transformer can cause common issues, such as flickering lights or failure to produce any lights at all.
Here is a simple 3-step LED neon sign transformer troubleshooting:
1. Inspect for Damage
Start by checking for any visible deterioration and damage in your transformer. Look for:
-
Burns on the casing.
-
Frays in its wires, a sign of short circuits and/or overheating.
2. Test Power Supply
Use a multimeter to check for voltage if your transformer is not getting any.
-
A lack of voltage could mean a fault in your transformer and/or wires.
3. Verify Compatibility
Ensure your transformer's specs are compatible with your LED neon sign; although. Although LED signs use only low voltage, it is still important to match the voltage requirements of the LED neon signs.
-
Circuit overloading can cause failure.
-
Underpowering, a fault with dim lights, flicker, and even failure
This transformer troubleshooting routine can help you to diagnose the problems with your neon sign. Detecting and resolving transformer-related issues is key to maintaining your LED neon sign's functionality and longevity.
Step 4: Look for Flickering or Dimming Issues
Flickering or dimming in LED neon signs can be frustrating, but it can often be resolved through careful troubleshooting. To start fixing this issue, you should check the power source.
1. Check for Inconsistencies
Voltage supply faults in LED neon signs can cause flicker and dimming. Monitor voltage through a multimeter. Fluctuation can indicate a source that is not stable, which reflects poorly on performance.
2. Inspect Connections and Wiring
Damaged, loose parts in wires can cause flicker and dimming lights at intermittent times. Check all such connections minutely. Ensure wires are not broken and firmly attached to the sign and source of power.
3. Evaluate the LED Driver
Even when you check the power source and connections, the LED driver can cause persistent flicker and dimming. Replaced LED drivers can correct the flickering problem and ensure proper performance in lights and signs.
Solutions
-
Make sure the power source is stable.
-
Replace any compromised LEDs and drivers for increased durability and effectiveness in lighting output.
Following these steps can be effective in diagnosing LED sign faults.
Step 5: Check for Environmental Factors
Environmental conditions significantly impact LED neon sign performance. These factors must be considered when diagnosing LED neon signs effectively.
Common Environmental Factors to Consider
-
Moisture and Humidity: High moisture and humidity can affect the performance and cause electrical faults. Check your sign installation location regularly and make sure it is dry.
-
Temperature Extremes: Shield your sign from extreme temperatures and high temperatures. High and extreme temperatures will cause parts and wires to degrade for a long time.
-
Direct Sunlight: Sunlight will degrade materials over a long period. Position your sign in a location with less sunlight directivity. Invest in shades and protective covers for your sign to secure it during rough weather conditions.
-
Nearby Electronic Devices: Electronic devices will generate electromagnetic interference with your sign, interfering with performance. Check any electronic devices and machines in your location and move them a safe distance for effective performance maintenance.
Tips for Protecting your LED Neon Sign Outdoors
-
Use water-proof enclosures for installation outdoors.
-
Cleaning and checking regularly helps detect any deterioration early.
-
Provide proper airflow in enclosures to prevent overheating.
Implementing such preventive methods will help you effectively diagnose LED neon sign faults and extend performance and longevity.
DIY LED Neon Sign Repair Tips
With a proper guide, repairing your LED neon sign can be manageable. The practical tips below can help you fix your LED neon sign independently.
 Replacing Damaged LEDs
1. Identify specific sections with dim and unresponsive LEDs.
2. Carefully disassemble the damaged LED section by unscrewing and unclipping it from the circuit.
3. Replace it with a new, compatible LED light with correct positioning and secure mounting.
Fixing Loose Wiring
1. Check wires with a sign of wear, fraying, and disconnection.
2. For loose wires, first, switch off the power supply, then tighten such screws and re-fix such wires.
3. Use electrical tape to secure your wires and ensure they are insulated well to prevent moisture.
Prioritize proper care in troubleshooting such common issues yourself before calling an expert for complex problems that are outside your DIY range of expertise.
When to Call Professional Help with Your LED Neon Sign
When DIY repair won't work, it will go a long way in effective LED neon sign maintenance. Following are cases in which you can start seeking professional neon sign help:
-
Persistent Issues: If your LED neon sign continues to flicker, dim, or won't turn on even after troubleshooting, a deeper problem most probably exists.
-
Transformer Problems: Replacing a faulty transformer requires expertise and specific tools for a proper and safe swap. Doing DIY on a transformer can result in further damage.
-
Complex Wiring Issues: Having a professional with you helps when dealing with frayed wires and damaged connections over minor repairs.
DIY can save you time and money, but remember when to stop and practice safe work. If your LED sign, for instance, requires specific tools and expertise, then an expert is best called to repair it and prevent further damage.
Conclusion: Troubleshooting Your LED Neon Signs
Troubleshooting common issues with your LED sign can keep its beauty and performance in its best form for a long period. Proper maintenance can also make your sign last a long time.
Key points to remember:
-
Identify Problems Early: Detect flicker, dim lights, and failure to switch on at an early stage to save yourself a more significant problem in the future.
-
Follow Guidelines: Consult a simple and effective step-by-step guideline in diagnosing and resolving these common issues confidently.
Following these tips will ensure that your LED neon sign is in its best form and performance. Properly taking care of your LED neon signs can be beneficial for years.
FAQ's - Common LED Neon Sign Troubleshooting Questions
What are the common issues encountered with LED neon signs?
Common issues with LED neon lights include flicker, light issues, dimming, uneven light, and faults in parts. These problems can be pinpointed to loose wires, overloaded circuits, or a wrong power source.
How can I fix a flickering LED neon sign?
To fix a flickering LED neon sign, check the power source and inspect all connections for faults in the wiring. If the issue persists, try changing the LED driver, as it can result in a fault in it.
What should I do if my LED neon sign is not turning on?
If your LED neon sign is not turning on, check for common issues such as faulty parts or a short in a part of the wiring. Before seeking expert guidance, check first, including confirming your source of power and checking the connections to ensure they are secure.
How can I maintain my LED neon sign to prevent issues?
Regular maintenance for your LED neon sign involves cleaning out debris and dust, checking for any part and visible wiring damage, and not exposing it to extreme environments such as direct sunlight and humidity.
When should I call a professional for my LED neon sign?
A neon sign specialist can be called when DIY fixing fails to resolve an issue and for complex cases, such as inner part failures that involve a high level of technical expertise and tools for fixing.
What steps should I follow to troubleshoot an LED neon sign?
To troubleshoot an LED neon sign, follow these steps: Check for an issue with a source of power and its connectivity, for any sign of part and cable damage, for wear in a transformer, for flicker and dimming, for any environment that can impact its performance, and for routine cleaning and maintenance.


Share: